
Objectives for this Tutorial
In developing the simple physics example explained in tutorials # 5 & 6, we learned that collision objects can use either a box, capsule or sphere shape. So…what if we want to incorporate a triangle shaped game object?
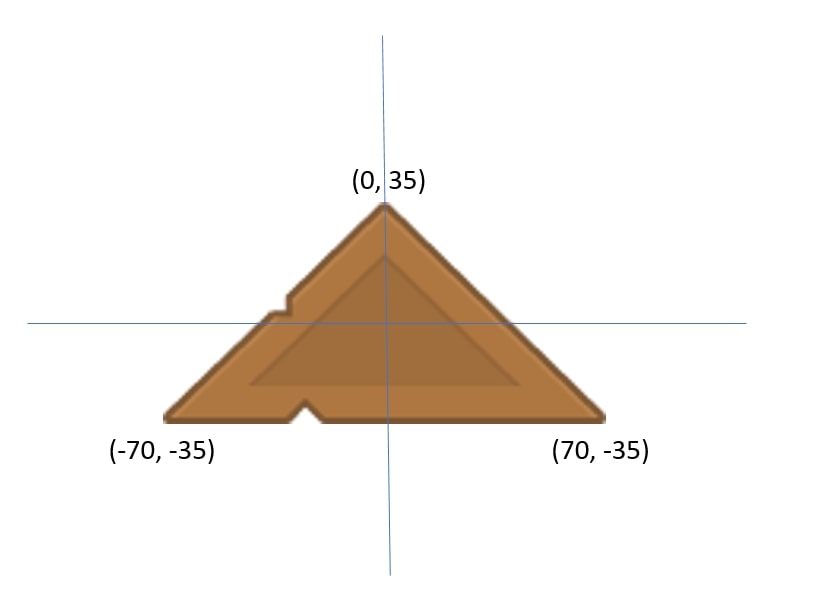
As an example, the triangle image below is 140 pixels wide, and 70 pixels in height. To create a Collision Object Shape which matches this polygon, the simplest approach is to create a convex hull shape using data within a .convexshape file. Within this file, we provide the vertices of the polygon as shown below.
At this point, we’re ready to extend our previous example to include a triangle shaped wooden block as one of the game objects created when you click the screen. For this example, the user will be spawning BOTH square crates and triangular crates during the application. The following approaches describes how we can do this:
NEW - YouTube Version of this Tutorial is now Available
There is now a video version of this Tutorial on the application of Physics to your game is now available on YouTube - please take a look and let me know if you find it helpful. Please note, the information provided within both Tutorial #5a and #5b are combined into a single video tutorial...and there may some minor differences between the video vs written tutorials, but the techniques are consistent.
I: INITIAL STARTING POINT
To save some time (and energy) — make a copy of the folder in which you created the project for the previous tutorial (Tutorial #6). We’ll be using the majority of the files from that example, with some exceptions which we’ll now walk through. A couple quick cleanup items — rename the folder to reflect this Defold Tutorial #6; rename the Title within the game.project file to ‘Defold Tutorial #6 – ConvexShapes.
II: USE OF A DATA FILE WITH VERTICES
Create a Data File with Vertices of the Convex Shape
Using a text editor, you create the data file: triangle1.convexshape which contains the following data related to the vertices above (x, y, z). For the triangle shown above, the following file would apply:

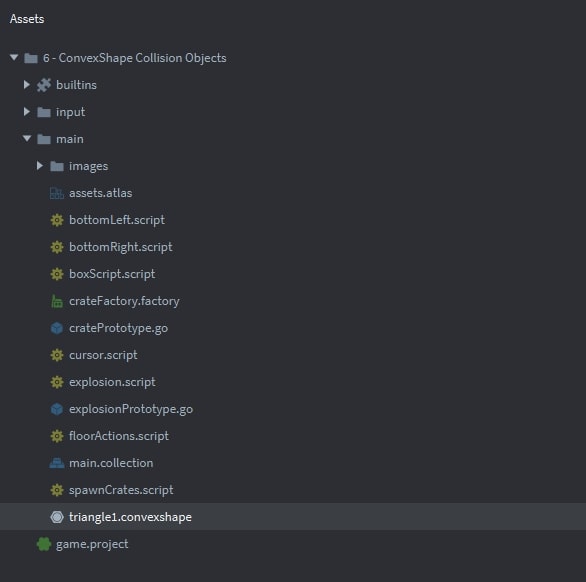
And we place a copy of this file in our main folder within the Project Explorer.
III: GO PROTOTYPE FOR CONVEXSHAPE
Create a GameObject – trianglePrototype.go
At this point, we’re ready to create a Game Object Prototype which can be used to create triangle shaped wooden blocks. Within the Project Explorer, under the ‘main’ folder, right-click ‘main’ | select ‘New’ | select ‘Game Object’. Within the dialog box that pops up, name this new Game Object as ‘trianglePrototype’.
Double-click ‘trianglePrototype’ within the Project Explorer to bring it into focus within the Outline Window. Within the Outline Window we’ll need to do three things: (1) add a sprite which will include the image of the game object, (2) add a script file which includes the same logic used when we spawned square-shaped crates, and (3) add a Collision Object, which will use the triangle.convexshape file to depict its shape.
Adding a Sprite to trianglePrototype.go
Right-Click ‘Game Object’ within the Outline Window | select ‘Add Component’ | select ‘Sprite’. Within the Properties Window for this new Sprite, select the assets.atlas for the Image property, and ‘triangle1’ as the Default Animation.
The following screenshot shows the properties for the sprite within the sprite’s property window.
Adding a Collision Object (using triangle.convexshape) to trianglePrototype.go
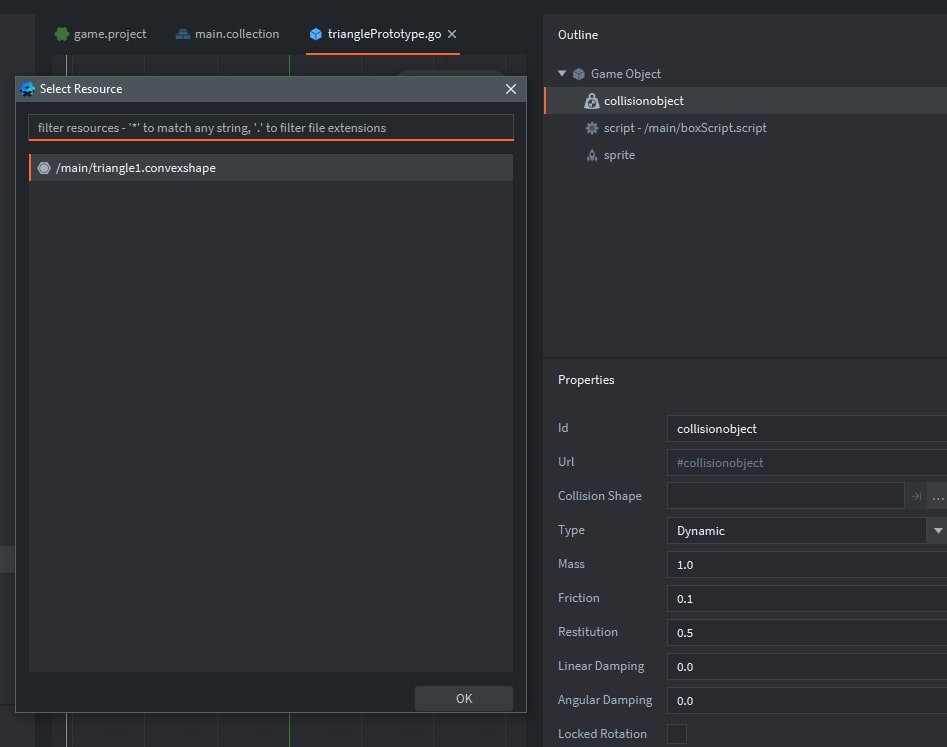
Right-Click ‘Game Object’ within the Outline Window | select ‘Add Component | select ‘Collision Object’. By clicking ‘collisionobject’, we place focus on that component and can now add the convexshape file by: selecting the ‘Collision Shape’ property and clicking the ellipsis (…) and selecting ‘triangle.convexshape’ from the popup dialog box.
Add a Lua Script File to the GameObject – triangleScript.script
Within the Project Explorer – Right-Click ‘main’ | select ‘New’ | select ‘Script’ and name this new script triangleScript.script. Replace the default contents with the following Lua code (essentially the same Lua code that we used in the previous tutorial).
Finally, add this script file to the GameObject by double-clicking trianglePrototype.go in the Project Explorer to place it in focus. Then, right-click ‘Game Object’ within the Outline Window | select ‘Add Component File’ | select triangleScript.script from the popup dialog.
IV: CREATE A CRATE FACTORY
Add a GameObject to ‘host’ the Factory – createTriangleCrates.go
With the ‘main.collection’ in focus within the Outline Window: right-click ‘collection’ | select ‘Add Game Object’ | rename it within the Property Window to ‘createCrates’.
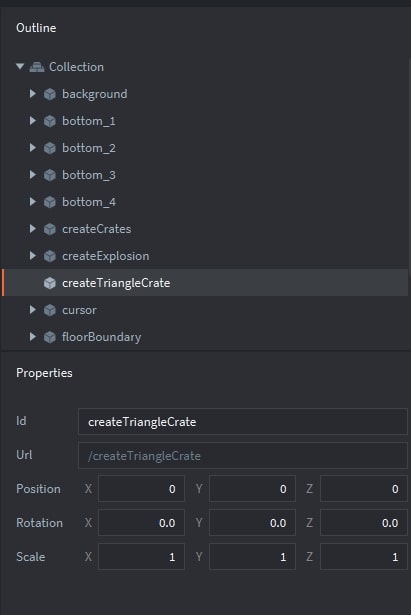
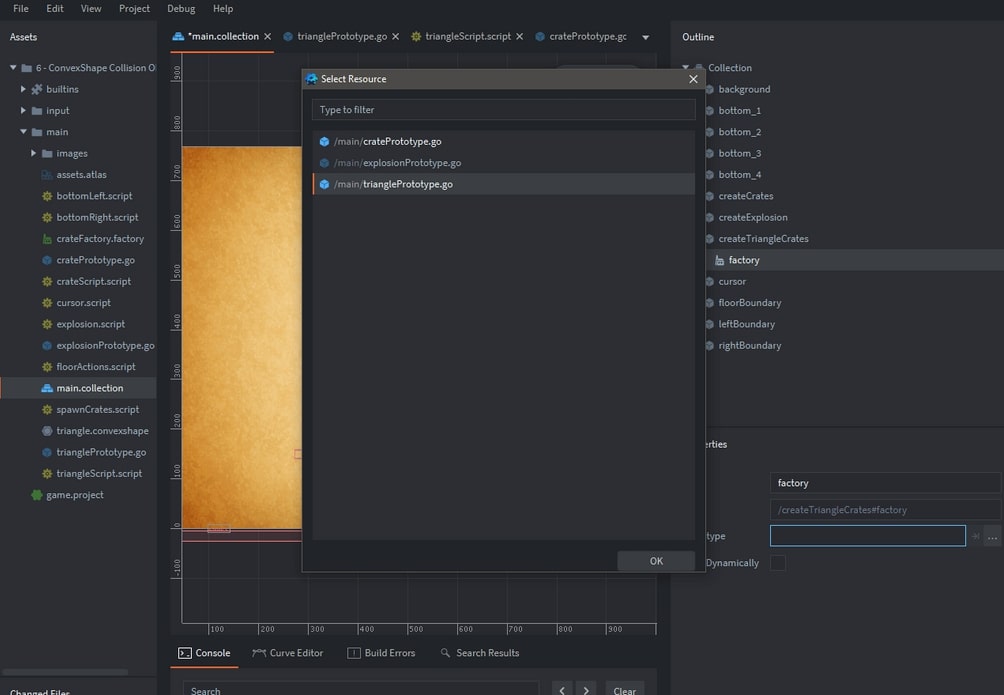
Right-click ‘createTriangleCrate’ within the Outline Window and select ‘Add Component’ | select ‘Factory’. With this new factory object in focus, identify ‘trianglePrototype.go’ as the Prototype within the Property Window as shown below.
V: MODIFY CURSOR TO SPAWN TRIANGLES
The last step in this example is to modify the cursor.script file (which was originally developed in Tutorial #5/6) — to generate both crates and triangles when the user clicks the game window as indicated below.
Syntax Highlights
As described within Defold Documentation, in this project we are including the rotation property of a game object as input to the factory.create function. For this example, we’re rotating around the z-axis and incrementing the rotation each time a new crate Game Object is spawned — by Pi/11. In Defold, the rotation property is a quaternion.
- A full 360 degree rotation would equate to: 2* Pi Radians (where Pi = 3.141592653)
VI: TUTORIAL WRAP-UP
That completes this tutorial and the end result is shown below. This includes: (1) creation of triangle-shaped collision objects, using a convexshape data file to define its shape, (2) the spawning of both square crates and triangular wood blocks, (3) inclusion of a changing game object rotation property.
Active Defold Application — Click anywhere on the game screen to spawn a new box.

I hope this tutorial was helpful!! Next on the docket will be an example of how to apply animation to a simple menu GUI (Graphical User Interface). The final project can be downloaded by clicking the following button.
All the best - Dave